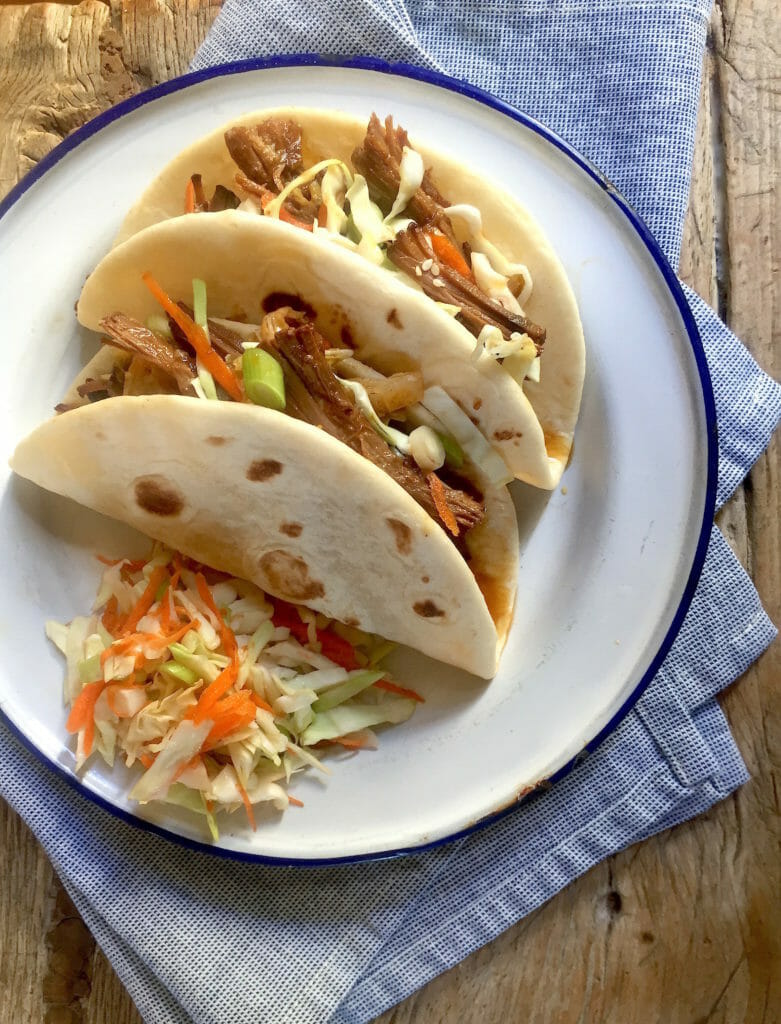
The foundation of the dish come by way of my friend Yunah, whom I emailed months ago nosing around about Korean-style beef. Yunah, who lives in Korea and is a very good cook, passed on some intel, including the fact that her mother braises her beef with an Asian pear, among other things. And though she usually makes it using short ribs, I subbed in brisket because it’s a little leaner (though by no means lean) and easier to work with. Using Yunah’s tips, plenty of creative license, some trial and error, and a pressure cooker (the Instant Pot), the results were downright delicious.
Done in a wrap
The meat braises in a sweet, salty, umami marinade until it’s fork tender. That’s where anything resembling a traditional Korean dish ends. From there, the meat gets tucked into warm tortillas and topped with kimchi or other pickled cabbage. Both tortilla and pickles help cut the richness of the meat and balance out the flavors. It can also be prepared in what might be called “paleo style”, in a sturdy lettuce leaf instead of a tortilla. Serve the wraps with a generous salad to make a meal. I did a version of this Colorful Slaw by using seasoned rice vinegar instead of lime juice, toasted sesame oil instead of olive oil, and bean sprouts instead of red bell pepper.
Side notes: If you don’t own an Instant Pot or a pressure cooker, and are wondering if it’s a worthy investment, head here to check out my review.
If you are ready to bite the bullet on the Instant Pot, click the image below.
For a version of Korean beef wraps using a conventional stove, check out this recipe from Cooking Light.

Instant Pot Korean-Style Beef Wraps
Ingredients
- 1 1/2 pounds beef brisket
- ½ teaspoon salt
- 2 teaspoons canola oil
- 1 large Asian pear (use a ripe conventional pear if you can’t find Asian)
- 3 large cloves thinly sliced garlic
- 1 tablespoon sesame oil
- 2 tablespoons mirin
- 2 tablespoons seasoned rice vinegar
- 2 ½ tablespoons soy sauce
- 2 tablespoons packed brown sugar
- ½ teaspoon black pepper
- 1 scallion , thinly sliced (optional)
- 1 teaspoon sesame seeds (optional)
- For serving: Small flour tortillas , kimchi or other pickled cabbage, and sriracha
Instructions
-
Season both sides of the brisket with salt. Set the Instant Pot to saute and add the canola oil. Put in the brisket and cook until deeply brown on both sides.
-
While the meat is browning, cut the pear off the core in four cuts. On a box grater, grate the flesh of the pear and discard the skin.
-
When the meat is brown, remove it from the pot, turn the pot off, and pour off the fat.
-
Put the pear, garlic, sesame oil, mirin, rice vinegar, soy sauce, brown sugar, and pepper into the pot and stir. Nestle the meat into the sauce, fatty-side up. Put the lid on the Instant Pot, set it to “Meat” for 1 hour and 25 minutes, being sure to close the steam nozzle.
-
When the meat is done. Turn the nozzle to release the steam, remove the lid, and transfer the meat to a cutting board. Skim any obvious fat at the top of the liquid by laying a large spoon on the surface and allowing the fat to drift into the spoon.
-
Trim off the obvious fat from the meat and discard. (It may look like a small amount of meat at this point, but it is rich and small amount packs a lot of flavor). Shred the meat and put it into a serving bowl. Pour about 1 cup of the juices from the pot over the meat. Scatter the scallion and sesame seeds over the top, if desired. Stir and serve with warm tortillas, kimchi and a generous salad of your choosing.
This post includes affiliate links. Mom’s Kitchen Handbook gets a tiny percentage of purchases made from the links. It’s part of what keeps this blog up and running.
